


SSL Certification in Four Simple Steps
For a normal website, activating an SSL certificate involves four distinct tasks: purchase the right coverage, prove domain control, receive the certificate, and install/verify it on the server. These steps are not interchangeable.
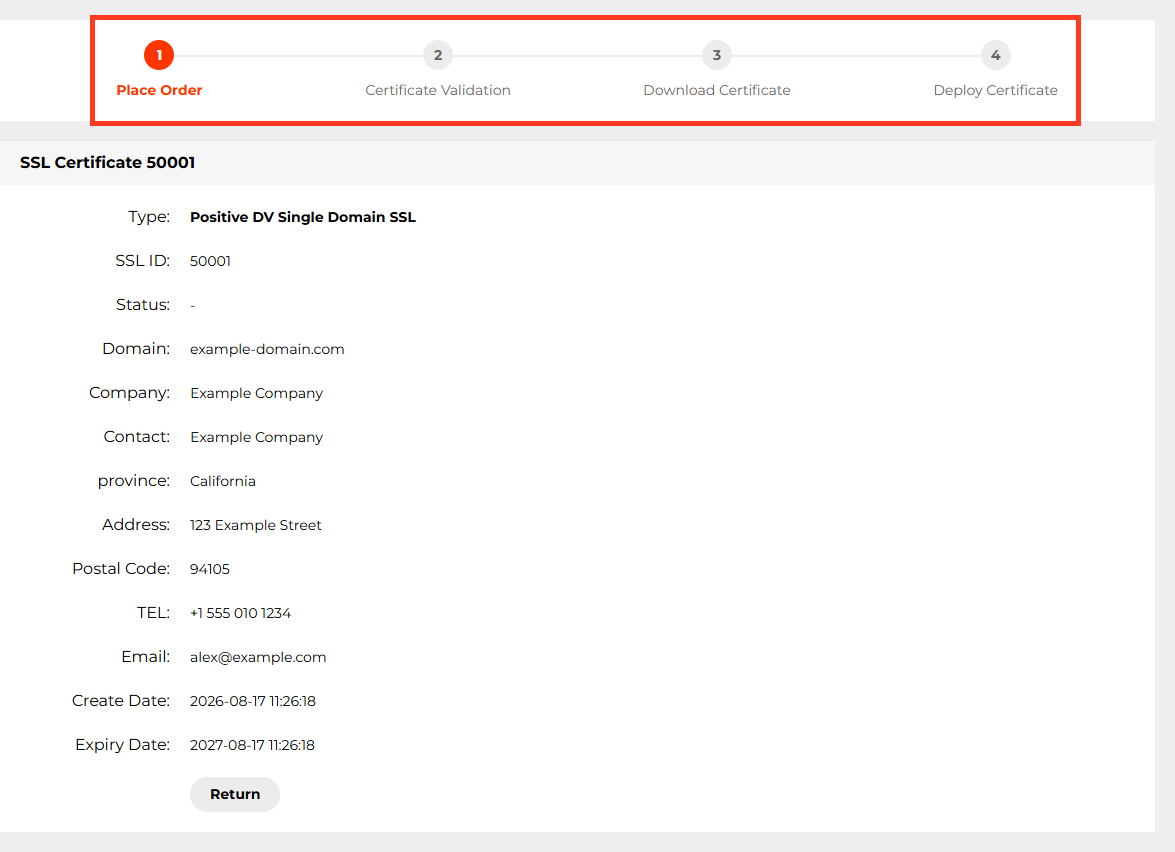
Step 1 — Choose coverage and order
List the hostnames that must use HTTPS, such as example.com and www.example.com. Confirm whether you need single-name, wildcard or SAN coverage; choose DV/OV/EV validation according to your actual identity requirements. Check price and deployment responsibilities before ordering.
Step 2 — Activate and validate
Find the SSL order in your NiceNIC account and open the available activation flow. Submit a CSR when the product requires it, without disclosing the private key. Complete the certificate authority's permitted domain-control validation (for example, a DNS challenge or another supported method). OV/EV products may also require legal-entity information.
Step 3 — Receive and install
Download the issued certificate and intermediate chain. Install them on the actual TLS termination point (hosting server, load balancer, proxy or CDN) with the matching private key. The correct process depends on the server software; use the platform's current instructions.
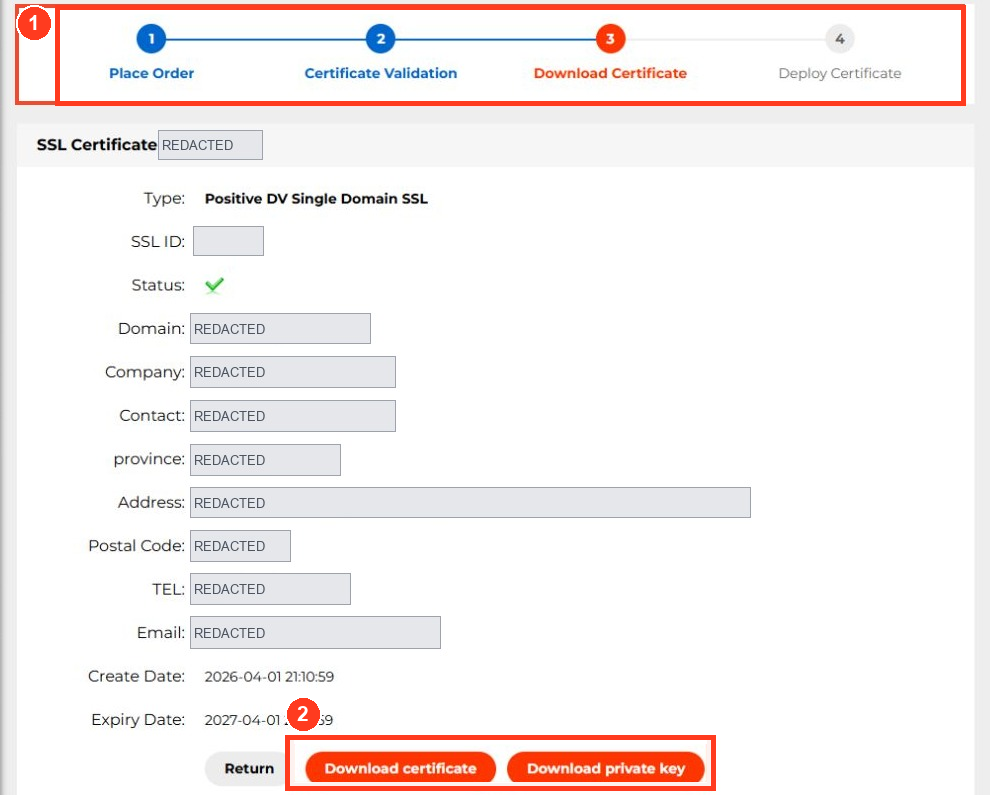
Step 4 — Verify, then plan replacement
Check the external HTTPS connection, certificate SAN list, trust chain, validity and any mixed-content warnings. Test additional hostnames and IPv6/CDN endpoints where used.
Public TLS server certificates issued on or after March 15, 2026 have a maximum validity period of 200 days, so monitor the installed certificate even if you have paid for a longer service plan.
If you are stuck at validation, provide NiceNIC Support with the order number, hostname and non-sensitive status—never the private key.
Example: issuing HTTPS for a two-hostname site
A company owns example.com and wants both example.com and www.example.com to work over HTTPS.
-
Select coverage: Verify the certificate product supports both names in the SAN list, or acquire the correct additional certificate. Do not assume a single-host order covers
www. - Validate control: The CA may provide a DNS TXT/CNAME or HTTP token. Place it at the authoritative DNS host or approved web location, wait for validation and do not delete verification data prematurely.
- Install: Deploy the certificate, chain and matching private key on the actual web server or CDN endpoint. If several nodes serve traffic, update them all.
-
Verify externally: Check both URLs, certificate hostnames, validity and trust chain; then set a reminder for renewal and replacement based on the installed
Not After.
Time and responsibility checklist
The domain owner maintains control of DNS or HTTP challenges, the CA issues the certificate after verification, and the server administrator installs it. These can be different parties. A delay at one stage should not be described as a generic "SSL failure." Keep the order status, CA validation status and live HTTPS status separately.


