


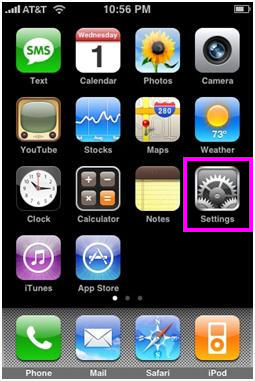
1. From the Dashboard, click Settings.
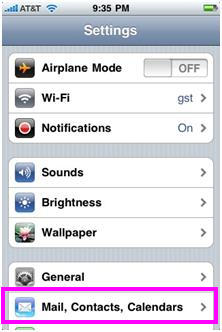
2. Under Settings, select Mail, Contacts, Calendars.
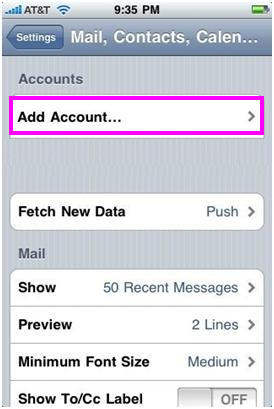
3. Select Add Account…
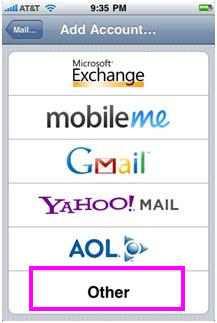
4. Select Other as the type of account.
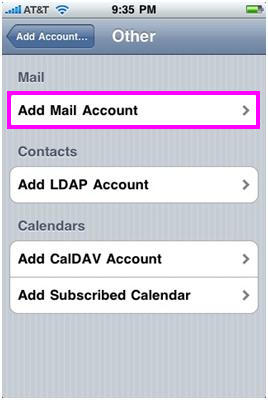
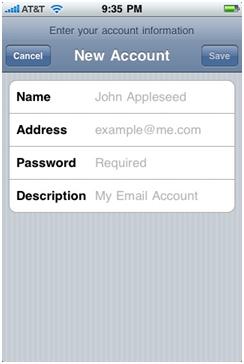
6. Enter the requested information:
Address: the email address of the mail user
Password: enter the users password (incoming mail server and external mail server)
Description: a description of the mail user
8. Click POP and enter the Incoming Mail Server information:
User Name: enter the full email address
Password: enter the users password
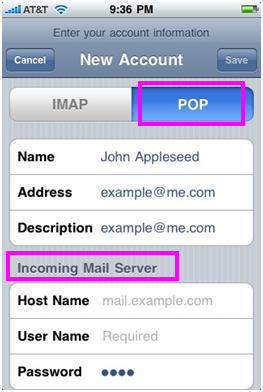
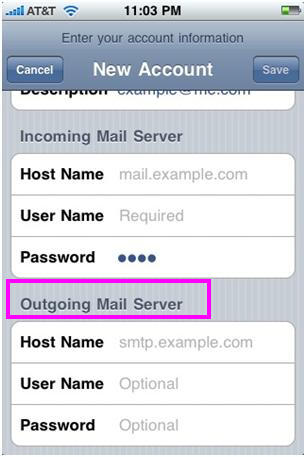
Host Name: enter the mail server address
User Name: enter the full email address
Password: enter the users password
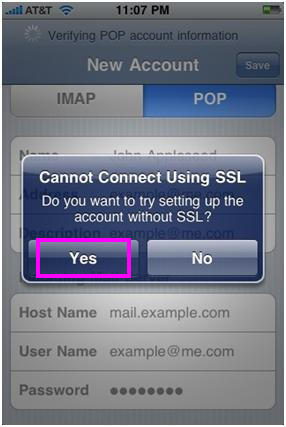
11. If you see a message that says “Cannot Connect Using SSL”, click Yes when asked to setup the account without SSL. The account should setup and verify.
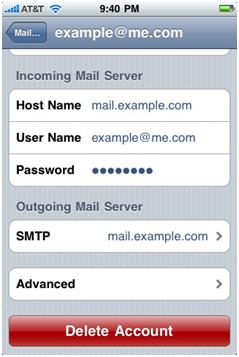
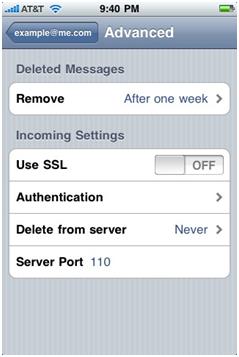
12. Go to the settings for the account. The Advanced settings for the account will be displayed and do not need to be changed unless there are issues or you wish to change the defaults (how long messages stay on server, how often to delete messages in Deleted Items, etc).
Bugün .COM Alan Adınızı Satın Alın ve Kaydedin
.COM alan adı uygunluğunu kontrol edin, yeni bir .COM alan adı kaydedin, toplu olarak birden fazla isim arayın veya mevcut .COM alan adlarınızı NiceNIC'e transfer edin. İşletmeler, alan adı yatırımcıları, ajanslar, barındırma sağlayıcıları ve bayi ortakları için tasarlandı.
Sonraki Haber: China Enterprise Email Market in 2011


