


How to install SSL certificates
Installing an SSL certificate means configuring the server that actually terminates HTTPS—not merely purchasing a certificate. The exact steps vary for Apache, Nginx, IIS, cPanel, managed hosting, CDN and load balancers.
Before you install
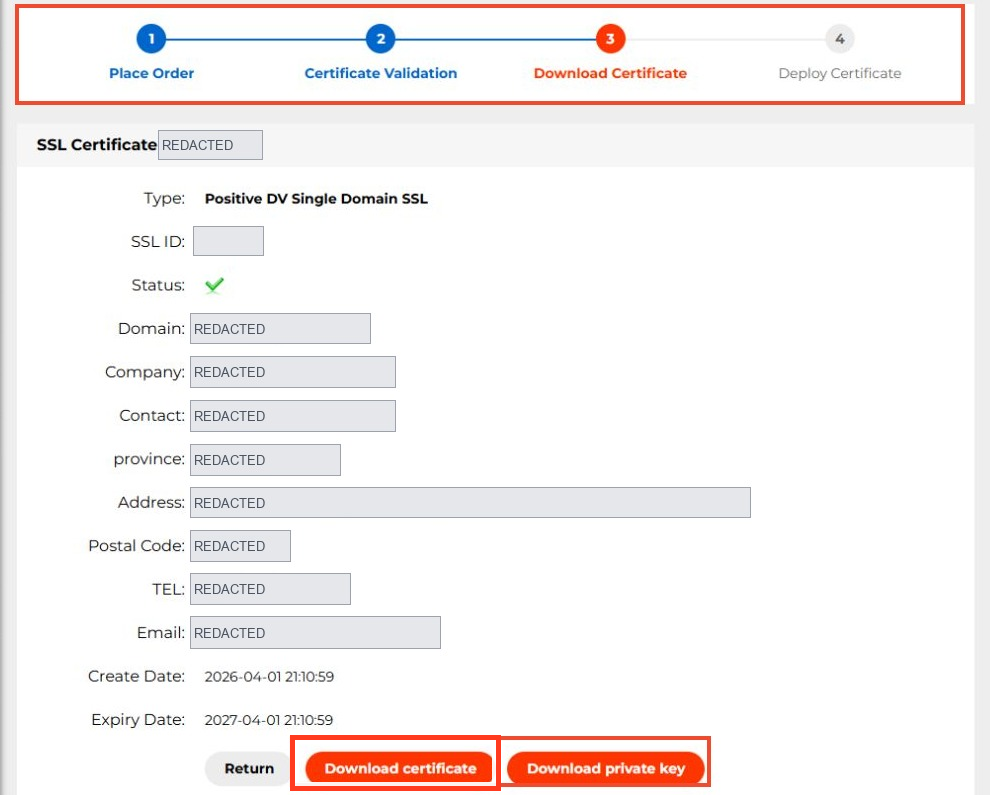
Identify all covered hostnames and where TLS terminates. Locate your issued certificate, intermediate chain and matching private key. Keep a backup of working server configuration and use a change window if the website is business-critical.
A dedicated IP address is not normally necessary for modern HTTPS. Server Name Indication (SNI) allows multiple hostnames and certificates to share an IP address when the server and clients support it.
Example: Nginx
For an Nginx-managed site, the TLS block commonly includes the following directives (adjust locations to your secured key store):
server {
listen 443 ssl;
server_name example.com www.example.com;
ssl_certificate /etc/ssl/example.com/fullchain.pem;
ssl_certificate_key /etc/ssl/private/example.com.key;
# Other site routing and security settings belong here.
}
This is an illustration, not a complete deployable production configuration. Ensure the .pem chain contains the required certificates and that the private-key file is tightly permissioned. Test the configuration (nginx -t) and reload only after validation.
Verify the deployment
Test https://example.com and https://www.example.com from outside, inspect the SANs, certificate dates, issuer chain and redirect behavior. Check all CDN endpoints and server nodes if applicable; old certificates often remain on one termination point.
Plan replacement
Publicly trusted TLS certificates issued from March 15, 2026 have a maximum validity of 200 days. Configure reminders or proven automation. Do not assume a paid multi-year service term means one certificate will remain valid for years.
For other server software, follow the current vendor documentation. If NiceNIC hosting includes an SSL service or automated deployment in your plan, verify the specific plan rather than assuming every hosting package includes a free certificate.
Server-specific installation paths
The files and controls depend on the TLS termination point:
ssl_certificate plus ssl_certificate_key in server block
nginx -t and reload
SSLCertificateFile / SSLCertificateKeyFile in HTTPS virtual host
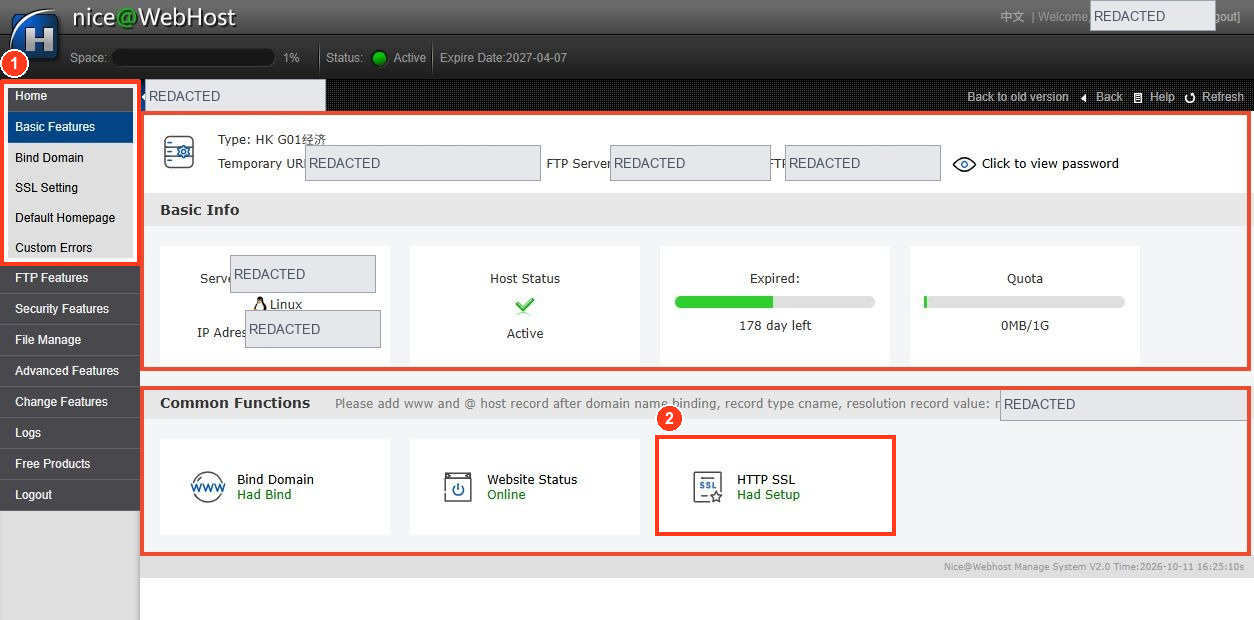
Example deployment: If an origin Nginx server is behind a CDN, replacing the certificate only at the origin may not change the certificate browsers see. Check which endpoint terminates TLS for visitors and whether the origin also needs its own valid certificate for the CDN-to-origin connection.
Safe change sequence
Back up the current working config and certificate paths, stage the new key/chain, run the platform's configuration validation, deploy during an approved change window, and test from outside on both IPv4/IPv6 and every intended hostname. Do not delete the old working files until the new deployment has been independently validated and rollback is possible.


